
ADVERTISEMENT
How to Group and Ungroup Worksheets in Excel | changes made in multiple sheets | grouping worksheets
Note: If video does not play,
just refresh page and then Play video or Just Click on this text.
You can quickly perform tasks on multiple worksheets at the same time by grouping worksheets together. If you group a set of worksheets, any changes you make on one worksheet are made in all the other worksheets in the group in the exact same location on the worksheets. If you want to create, for example, standard tables or calculations on a large number of worksheets, grouping can save you a lot of time. This works best if the worksheets already have identical data structures.
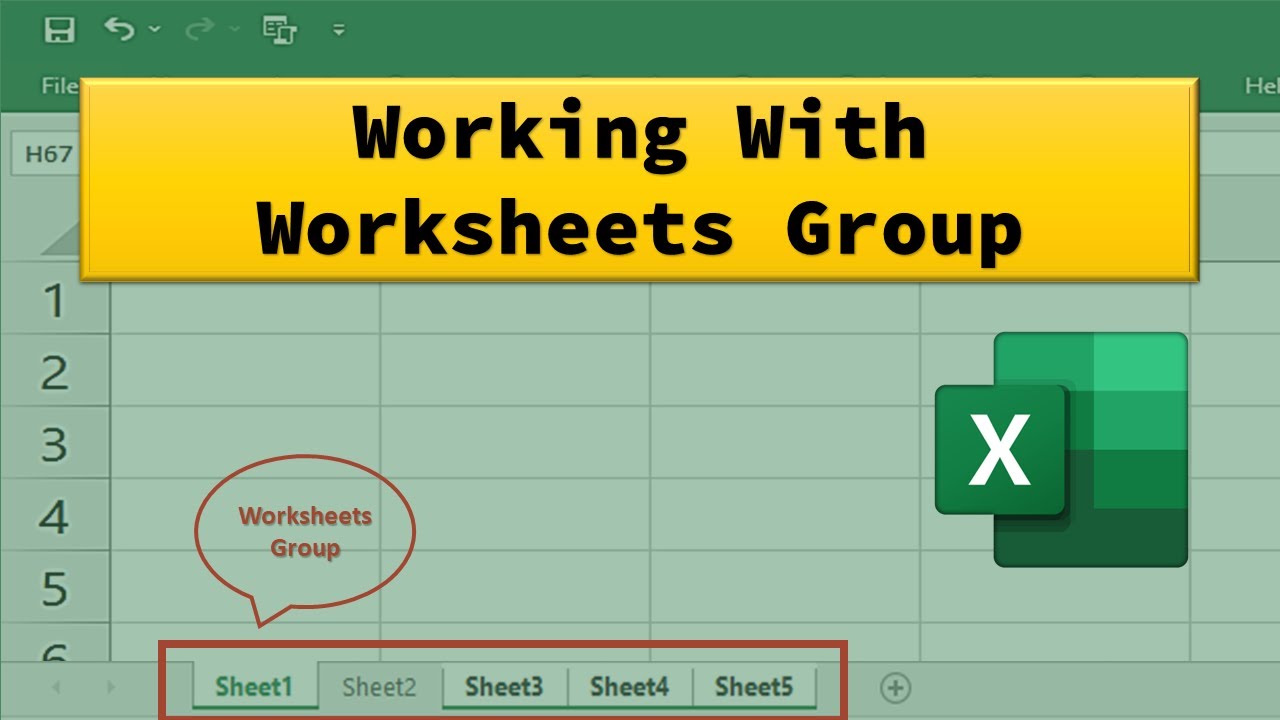
Group selected worksheets
In the example below, a workbook has multiple worksheets for different names.

To perform the same tasks for a particular set of worksheets, follow the steps below.
Press and hold down the Ctrl key, and click the worksheet tabs you want to group.

Now, suppose you want to add the same formula to cell B11 on both the “sheet1” and “sheet2” worksheets. When grouped, the change will happen on both worksheets when either worksheet is modified. For example, a formula change to the Sheet1 worksheet is automatically made to the Sheet2 worksheet:

Group all worksheets
You can easily group all the worksheets in a workbook.
- Right-click any worksheet tab.
- Click Select All Sheets.
